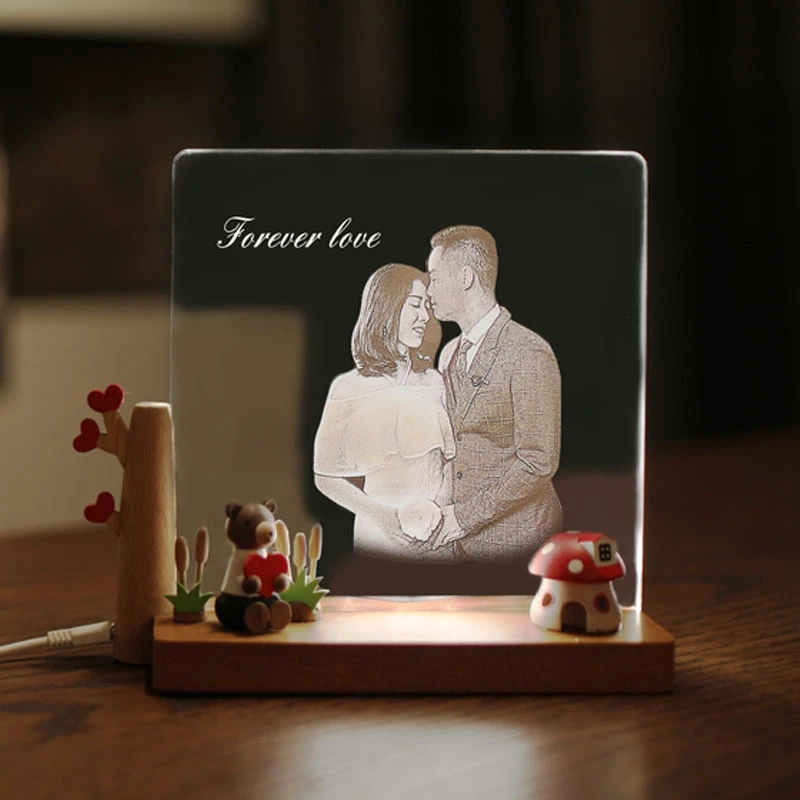
A few months back, I wrote a post detailing some of my preferred art alternatives from Minted for the spaces in our new property. As a thank-you for the post, Minted gave me a retail store credit score, and I (painstakingly!) chosen a piece out of all the fantastic alternatives to use it. Whilst I was actually, seriously drawn towards this one and this one, Pine Study 1 by Jill Nobles really had my heart from the second I started off browsing. I purchased the print in the 36&Primary square dimensions, and it arrived just a few times later on. I was awe-struck by the shades and print in particular person, and just as I hoped&hellipit was Excellent in our family area! When it arrived time to determine out how to body and display the photograph, I knew I seriously wanted to attempt the gorgeous floating acrylic frames I&rsquove been observing all in excess of the website. I had a hunch the sleek, present day, frameless alternative would genuinely permit the art to shine and now that it&rsquos carried out, I believe my instincts were being location on!
There are so several wonderful tutorials all around the weblog-o-sphere for this venture, and I employed a mixture of a few of them to set ours&rsquo alongside one another. I&rsquom not heading to share a stage-by-move tutorial for what specifically we did since there are so many tutorials out there already. In its place, I assumed I would tell you a very little little bit about what measures and materials we applied, how it worked, and some tips we learned along the way if you want to test this venture you!
Very first matters very first, this project is not as scary, difficult or scary as it could look. Sure, acrylic can be challenging to function with, but as soon as I received started off, it was completely doable and in fact came alongside one another pretty quickly. I referenced four different tutorials, and I remarkably advise you examine them out, do your analysis and figure out what will function greatest for you:
- Honey & Fitz
- The Hunted Inside
- Tiny Inexperienced Notebook
- Sarah M Dorsey Designs
Right here are the materials I collected and employed for our frame:
- 36×72&Prime sheet of acrylic
- 2&Key brass screws
- Brass washers
- one&Key spacers
- Gold spray paint (to paint the spacers)
- Plexiglass cutting software
- Straight edge
- Packing tape
- Marker
- Dry wall anchors that will match the two&Prime screw
A swift observe about the acrylic. This is not my to start with time shopping for acrylic, but for some explanation it struck me as a very little extra costly than I try to remember. The sheet I purchased value about $fifty six, and with the hardware, this complete job arrived in at about $70. Locating a 36&Prime sq. frame isn&rsquot exactly effortless, and to custom made body this 36&Prime sq. piece of art would have cost hundreds a lot more than that. So in the conclusion, this selection is not only a chic and resourceful way to display screen your artwork, but also a rather finances helpful alternative!
To me, the toughest aspect of doing the job with acrylic is cutting it down. I&rsquove experienced to do it right before, and it&rsquos just not a single of my most loved tasks! This time all around, I merely needed to slash my 72&Key sheet in half to make two 36&Primary squares. Considering that the acrylic was considerably thick and would will need pretty a few scores to slash by means of, I made use of packing tape to maintain my ruler in put as I scored more than and over. It labored great and with out much too substantially sweat I bought the piece reduce in fifty percent. Acrylic can crack and snap very very easily, so I endorse using your time and rating as considerably as you require to in order to get a clear break.
The other difficult component was generating holes in the acrylic. Due to the fact I&rsquove experienced acrylic split/crack on me in advance of, I wasn&rsquot much too keen on the drilling plan, so I made the decision to give the scorching nail trick a go (see the tutorials over for a lot more details). Although it did ultimately operate, I will say this: your nail wants to be Actually sharp and Actually hot. I didn&rsquot have any other warmth resource apart from a candle, so I had to warmth then pierce then warmth then pierce just to get it to go via all the way. Another draw back of working with a candle is the wax residue will construct up on to the nail, which will then be transferred to the acrylic. So&hellipif probable, use a stove or non-candle flame to get your nail nice and incredibly hot.
With all those ideas in mind, below&rsquos a swift rundown of what I did:
- Minimize down two sheets of acrylic into your wished-for dimensions.
- Clamp the two sheets together, and use a Quite warm nail to make holes in every corner of each sheets of acrylic. My holes have been two&Prime in from the sides.
- (Optional, if necessary) Spray down the hardware to match/coordinate
- Location your art in amongst the two acrylic sheets, centering it equally vertically and horizontally, and secure it with double-adhere tape on the back of the art.
- As soon as dry, thread the hardware via the acrylic holes as follows: screw | washer | acrylic | spacer
- Place your artwork on the wall and be aware the placement of the four screws by gently pushing the screws into the drywall.
- Insert dry-wall anchors into the wall at the designated spots, and then screw the prolonged screws on the artwork right into the anchors to secure the art to the wall.
Under is a close-up shot at what the hardware appears to be like like connected to the wall. The dark ring is our dry-wall anchor&helliphad I understood they&rsquod present a bit, we would have applied white types. Oh well, from a length, they are scarcely recognizable!
The other tip/trick I needed to level out is to make sure you Genuinely secure your art to the again sheet of plexiglass with double adhere tape. I was less than the effect that the two acrylic sheets would remain restricted sufficient together and maintain the artwork in area, so I originally only applied two parts of tape. However, because of the sizing of our certain frame, the acrylic didn&rsquot stay restricted with each other and the image begun to slip. We had to finally consider it down, re-tape it, and re-hold it back again up!
My other phrase of warning is that this framing option is Super reflective. I possibly should have figured that out, but given that the image straight faces two windows (I experienced to pull the blinds shut for these pics), there are times of day the photo alone is really hard to see since of the reflection! As these kinds of, this hanging approach may possibly be most effective for considerably less sunny spots!
All in all, I am thrilled with this artwork (many thanks, Minted!) and navigate to this web-site . If you have a printed piece of artwork that demands to get up on the wall but you&rsquore just not sure a standard frame is the answer, I extremely recommend providing this technique a try out. Even if you&rsquore not extremely Do-it-yourself savvy, this is a task that is very easily tackled!
I&rsquod love to know if any of you have tried out the floating acrylic body in your have houses! Did you check out any tricks or approaches that labored in particular very well? Do you have just about anything that might look good framed out in acrylic?
Coming up Wednesday, do I have a task to share with you! It&rsquos the future installment in my Renter-Helpful Partitions collection, and I assume you&rsquore gonna love it! See you then!
I did not receive compensation for this weblog article however Minted did present me a store credit as a thank-you for a previous publish featured here on The Households I Have Built. Please keep in mind that I only work with manufacturers and goods I fully assistance and that make perception for my property, my spouse and children, and this blog site. All thoughts are one hundred% my personal!